Due to the fact that for the 'average user' I never support bypassing/disabling User Account Control (UAC) ESPECIALLY for the entire system... here is a quick write up on how to bypass UAC for specific Program(s) only, by creating an exception per se for the program to the UAC
NOTE: By proceeding with this tutorial you are assuming all liability of your actions and understand that the methods herein are being performed at your own discretion and not being endorsed by Lillu, the THF Team or myself.
**PLEASE FOLLOW EACH STEP IN THE EXACT ORDER IT IS WRITTEN** 1.) Download the '
Windows Assessment and Deployment Kit (ADK) for Windows 10' (adksetup.exe) and save to a location of your choosing.
[
http://go.microsoft.com/fwlink/p/?LinkId=526740 ]
2.) Right-Click '
adksetup.exe' that you have just downloaded and click
'Run as administrator' 3.) In the
'Specify Location' window that appears you can jsut click
'Next'.
4.) In the
'Windows Kit Privacy' Window that appears I choose
'No' (participation however is at your own discretion) then click
'Next'.
5.) In the 'License Agreement' Window Read the EULA and click
'Accept' (Unless you DO NOT AGREE then click
'DECLINE' and cease further instruction from this tutorial)
6.) Now a
'Select the featurs you want to install' Window appears. This is completely up to you what you wish to install. However, for this tutorial we will only be needing:
'Application Compatibility Tools' - Tick the Radio Box for Application Compatibility Tools and UNCHECK ALL OTHERS. Now click
'Install'.
- A Welcome Window appears, No need to click learn more... just
'Close' ***NOTE: You have now installed
'Windows Compatibility Administrator' for both 32 and 64bit Programs. This is important to know as
MacroQuest is
'32bit' 7.) You will now need to go to
'Start' Scroll through all/applications list down to
'Windows Kits' then RIGHT-CLICK the
'Compatibility Administrator 32-bit' go to
'More' and then
'Run as administrator'.
*NOTE: It is essential that you open it this way for reasons later expressed in this tutorial! 8.) When the program opens it will automatically open and select a new database template. Click the
'Fix' button on the top toolbar. When you see the '
Create New Application Fix wizard', enter information about the application for which you want to disable the UAC prompt. [I.e.: Name of program: MacroQuest. Name of Vendor: <Unknown>. Program file location: Click
'Browse' and navigate to your MacroQuest install directory and find/select MacroQuest.exe] - Click
'Next'.
9.) Change NOTHING on the
'Compatibility Modes' page when doing this for the program
'MacroQuest'. Click
'Next'.
10.) On the '
Compatibility Fixes' page, scroll down the list to
'RunAsInvoker'( The RunAsInvoker option will allow the application to run with the same privileges and user rights as those of the parent process, which in this case is the Compatibility Administrator that you launched using the Run As Administrator command. Your application will run with full Administrator privileges. ) ... - Click
'Next'.
11.) The Matching Information page will now appear. Leave everything as it is on this page and click the
'Finish' button.
11.5)
When you return to the Compatibility Administrator window, you'll see a detailed entry about your application in the new database. Click the Fix button on the toolbar and follow same set of steps in the Create New Application Fix wizard to add other/more applications with this exception to your database. Please NOTE: Some applications may require you to run program in compatibility modes, applicable to the application, in the 'Compatibility Modes' Page. So the process will vary to some degree depending on which program you are using this process for.
12.) Once you are finished adding applications, you can save your database. However, keep in mind that once you save your database, you'll be unable to edit the entries. To save your database, click the
'Save' button on the top toolbar and assign your new database a name of your choosing.
13.) When you click
'OK', you'll receive a prompt to save the database file onto your hard disk. The default location is in the C:\Windows\System32 folder. You can use the same name as you used for the database for the actual file if you wish.
14.) To complete the operation, Click the
'File' menu and select the
'Install' command. A dialog box with a message indicating that the database has successfully been installed will appear.
15.) Now, click
'OK' and close the
'Compatibility Administrator'. Go to the
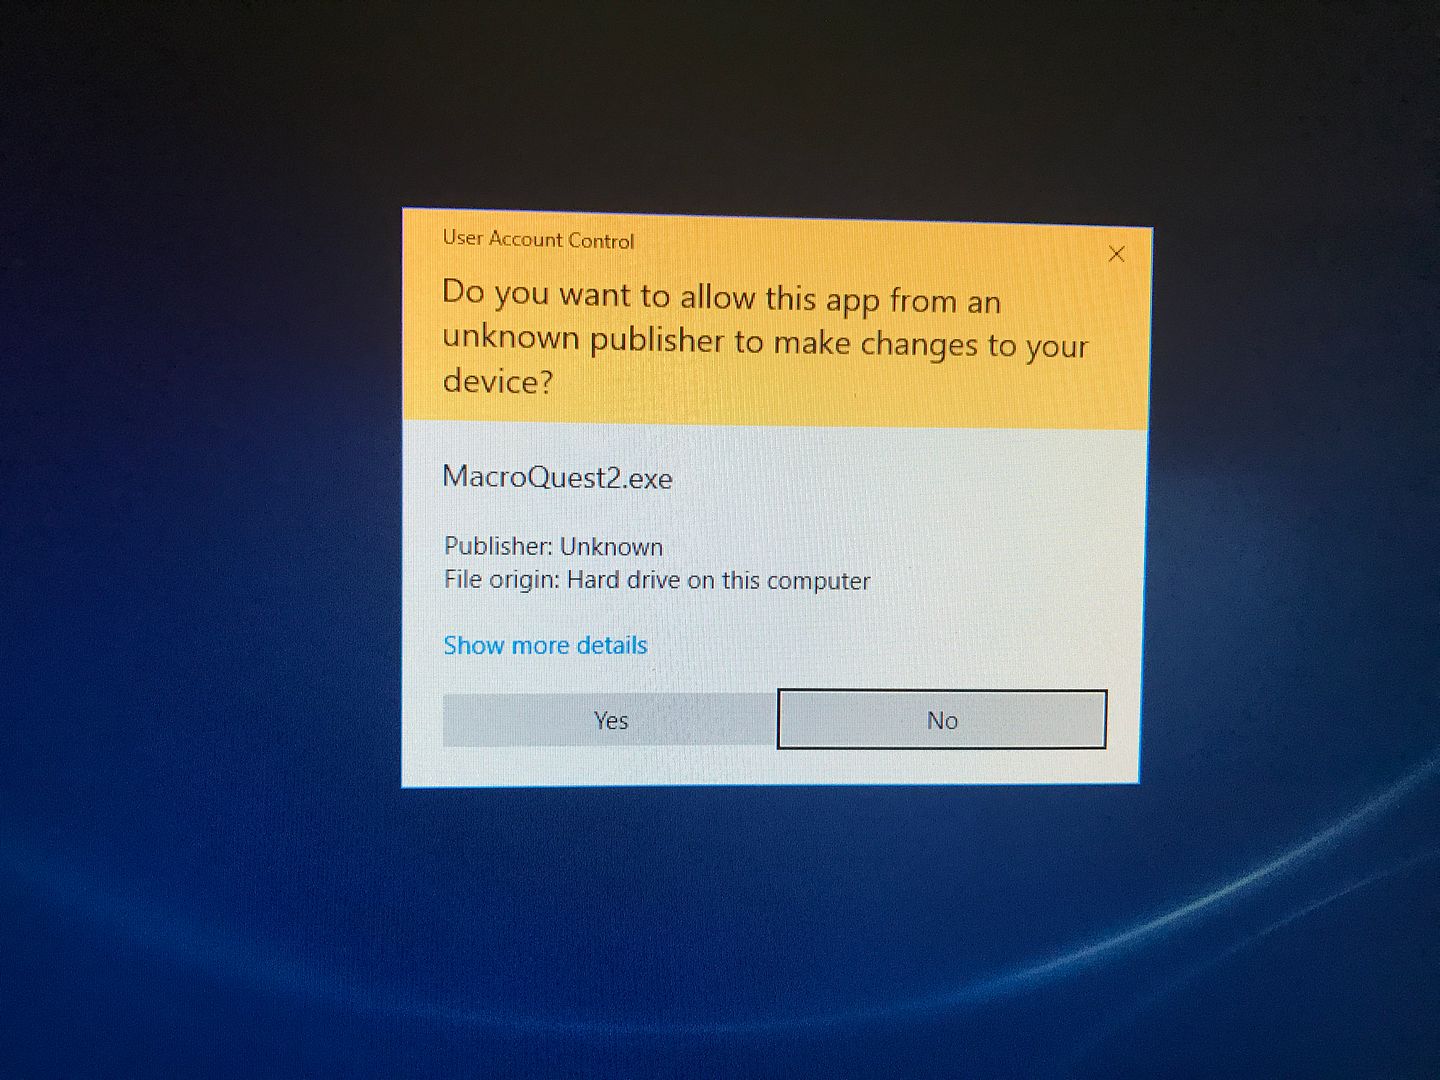
'Start' menu and launch your application. Your application should now launch without displaying a UAC first.
(Note: When you are completely finished and tested working... if you WISH to uninstall the Compatibility Administrator you may. The installation of the Database you have created will still work)
Hope this has been helpful and provides desirable results without the vulnerability risks of disabling/bypassing the User Account Control.
If you have any issues let me know and I'll do what I can to remedy the situation.